Showing posts with label classroom organization. Show all posts

Thursday, August 13, 2015

Classroom Pictures 2015-2016

Hi friends! I've been back in school for a whole week now. How'd that happen? 

I wanted to stop in with just a few pictures of my classroom for you. 


I love having the big window beside of my door and I'm always looking for ways to decorate it! The little First Grade Rocks pennants are from the fabulous First Grade Blue Skies. I've got a post coming soon about the sign in the little window. 


This is one of our little reading areas. I just added the rug this year and I thought it looked extra inviting. I hope the kids think so too! 


I'm trying out the Prop and Park from Really Good Stuff this year and so far it is amazing. Anyone else ever notice how a first grader can't keep a pencil on their desk until after Christmas? This really has been a life saver when it comes to lost pencils and erasers. Each kid has 2 pencils and an eraser at their desk. The only place they can store them is in the Prop and Park. I hope this cuts down on the pencil hoarding, too. You know....time to clean out desks and one kid has 20 pencils crammed in the back!! 


I added the bookshelf to the calendar area this year to help house some lesson materials and read aloud. I like the extra stacking room. #sorryimnotsorry 

Thanks for stopping by and taking a little peak into some of the favorite parts of my classroom. What's your favorite area in your classroom? 

Tuesday, February 3, 2015

Taking a Second Look at the To File Basket

I love to be organized. However, the switch to 1st grade has made organizing a little tricky! The idea of knowing that I had papers in messy stacks all over the room was driving me crazy! It has taken me about half the year to get my filing groove back and I wanted to share the system I came up with. 


This crate was the key to my success! It started out as that adorable, totally organized idea floating around on Instagram. I made a folder for each day of the month and was supposed to stash all the papers I needed on any given day in there. Well....that was a beautiful idea and it really spoke to the organizing nerd in me, but it just didn't WORK for me. That isn't how I plan...

I already had a good system for organizing the papers I was going to use with my students, but I needed a way to sort the papers I wanted to keep for next year. I went back to the drawing board and came up with a different way to use the same crate and eliminate my old "to file" basket. 


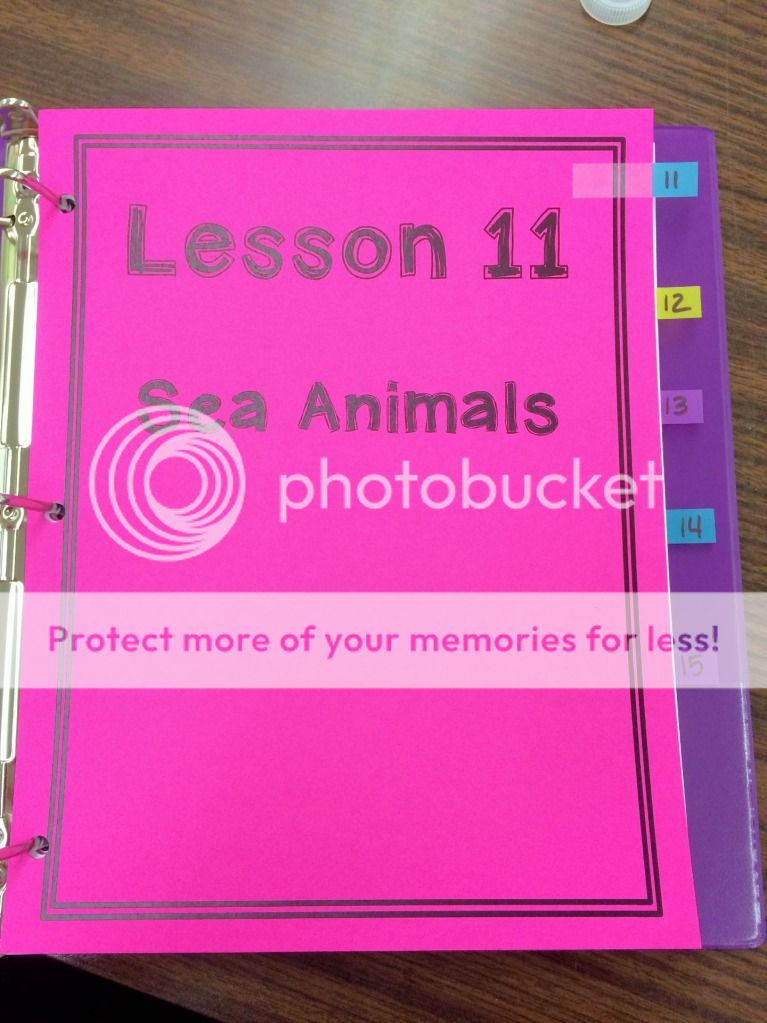
I used paper clip tabs and washi tape to make temporary labels. Those labels correspond with the lesson numbers in our reading series. After I make copies for the week I just slide the master copies down in the file and my filing is done! 


This is much easier than the old "to file" basket that would overflow with papers! When I started sorting out the papers by week or topic I had a hard time remembering exactly which week I had taught each skill. This system solved that problem.  When we finish with a reading unit I pull out all the folders from that unit, hole punch the papers, and put them in my binder. 


In the back of the crate I also have a file for all the holidays we will celebrate at school. I love having such easy access to all those folders because who knows when I'll find a great Halloween idea in April?! Having them out in the open means I'm much more likely to file it now than pile it up and lose it! 

Last but not least is a file for all the love notes from my sweeties. 


How do you file papers in your classroom? 


Monday, August 18, 2014

No Sew Curtains, Class Brochure, and Work Display {Monday Made It}


This post has been a long time coming! I wanted to back up a show you three very last minute projects I put together the weekend before school started.

I'm linking up with Tara over at Fourth Grade Frolics for her fabulous Monday Made It linky.


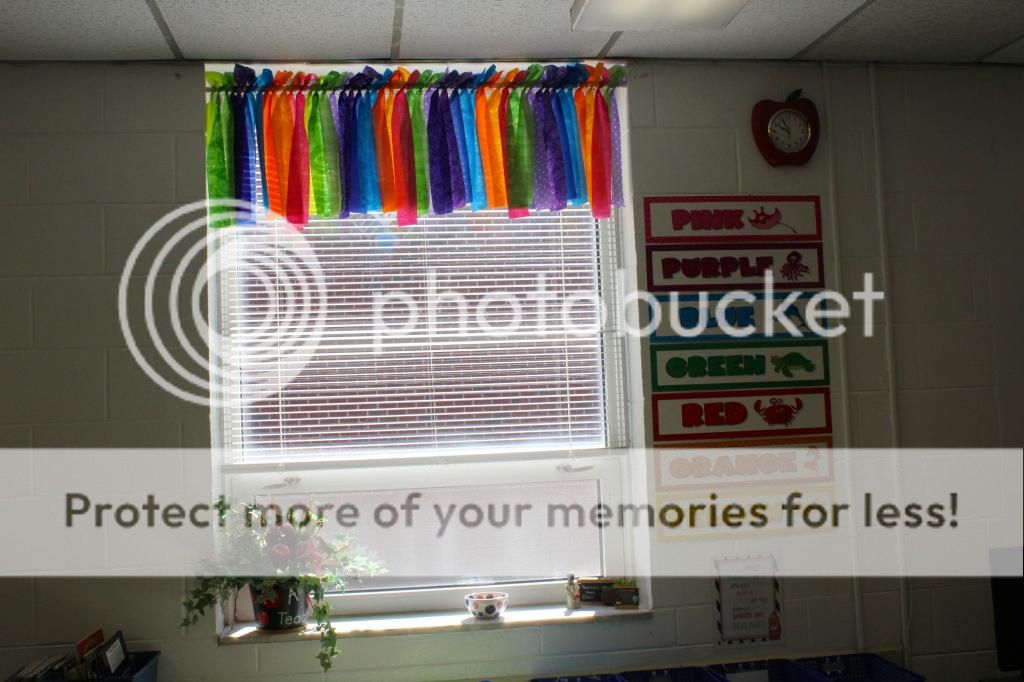
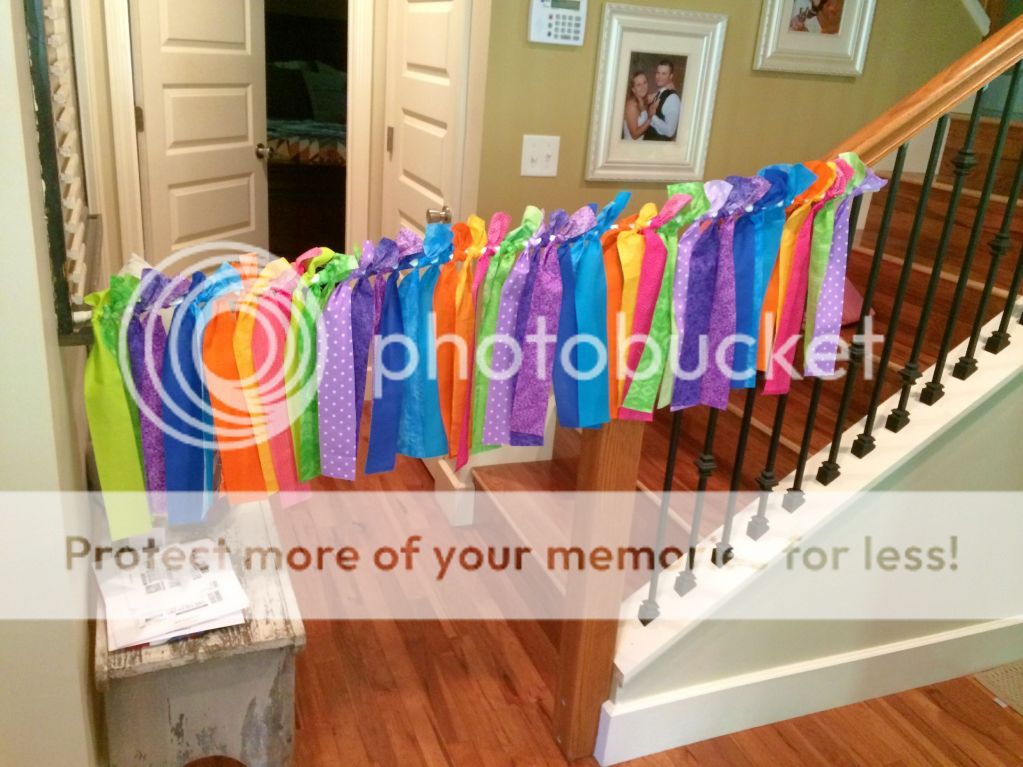
The weekend before school started I decided I need to jazz up the curtains in my room. Not the best idea, let me just tell you! BUT I am really happy with the end result! 


The pennant banner on the left came from my old classroom and I felt like it didn't quite fit in on these smaller windows, so I needed a change. 


I love how this has almost a stained glass look at certain times in the day. It really boosted the color in my room. 

So how did I do it? 


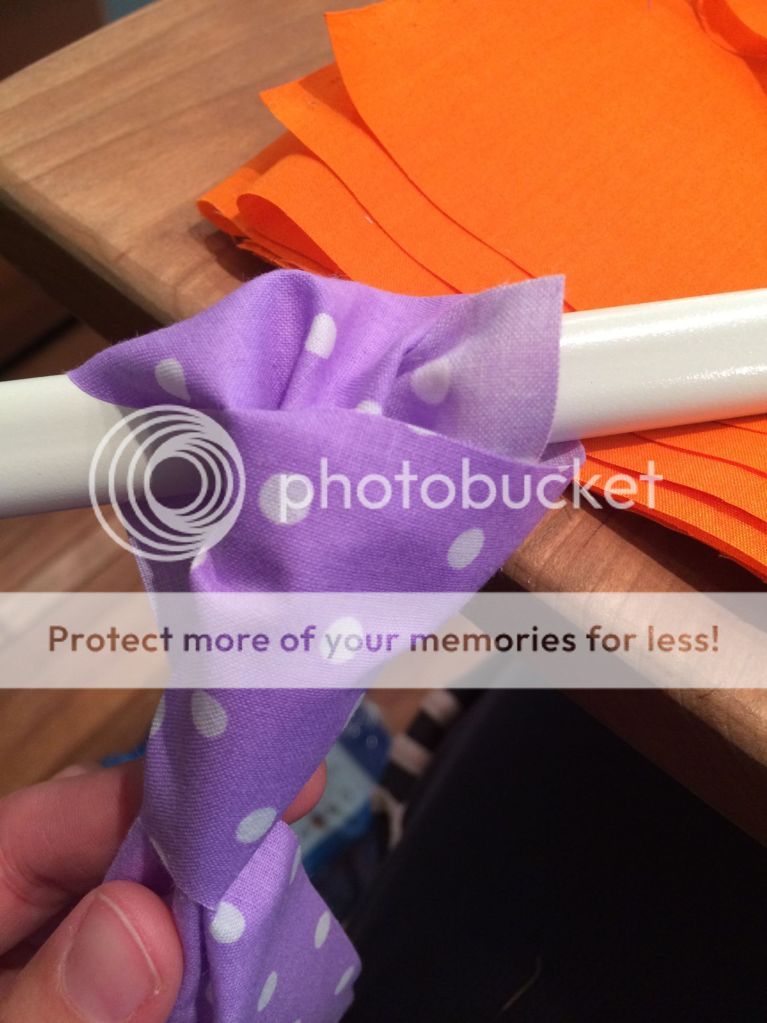
I cut strips of fabric 2.5" wide and 21" long and just tied them onto a tension rod. My windows are about 50" and I have 39 strips of fabric on each one, just to give you a little idea. 


It was a quick and easy project that really made a big impact on the look of my room. 


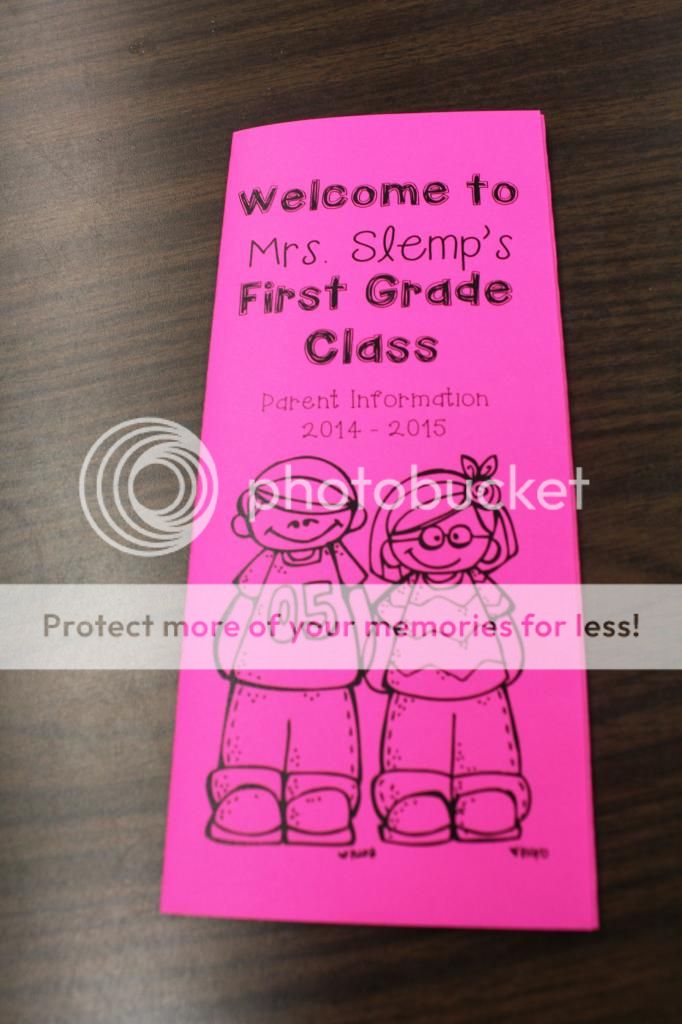
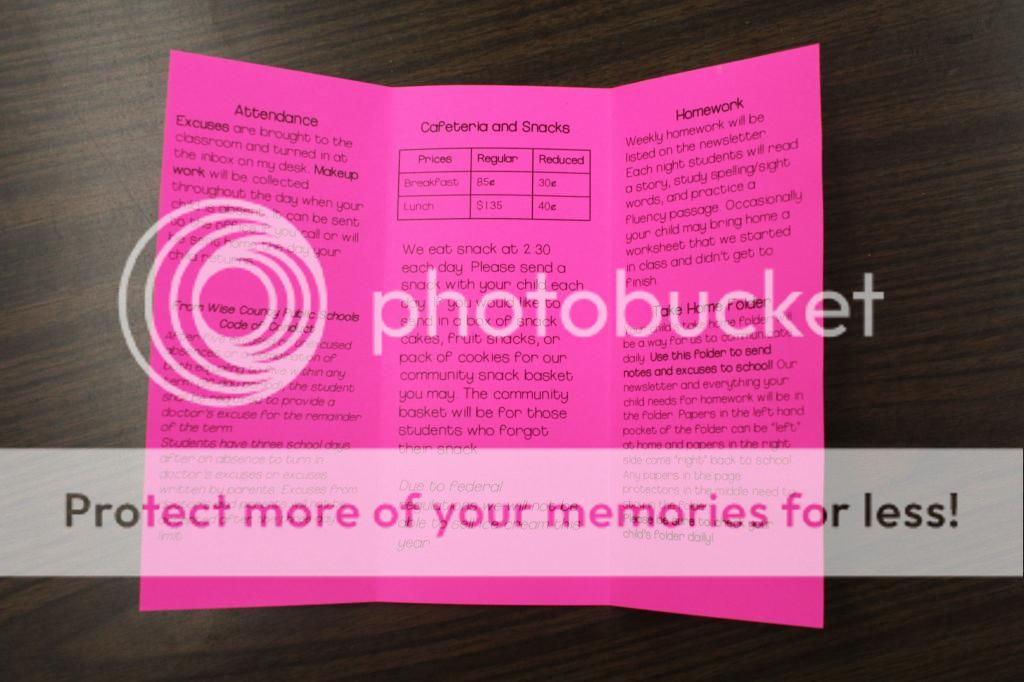
I made brochures for parents to pick up at Open House. 


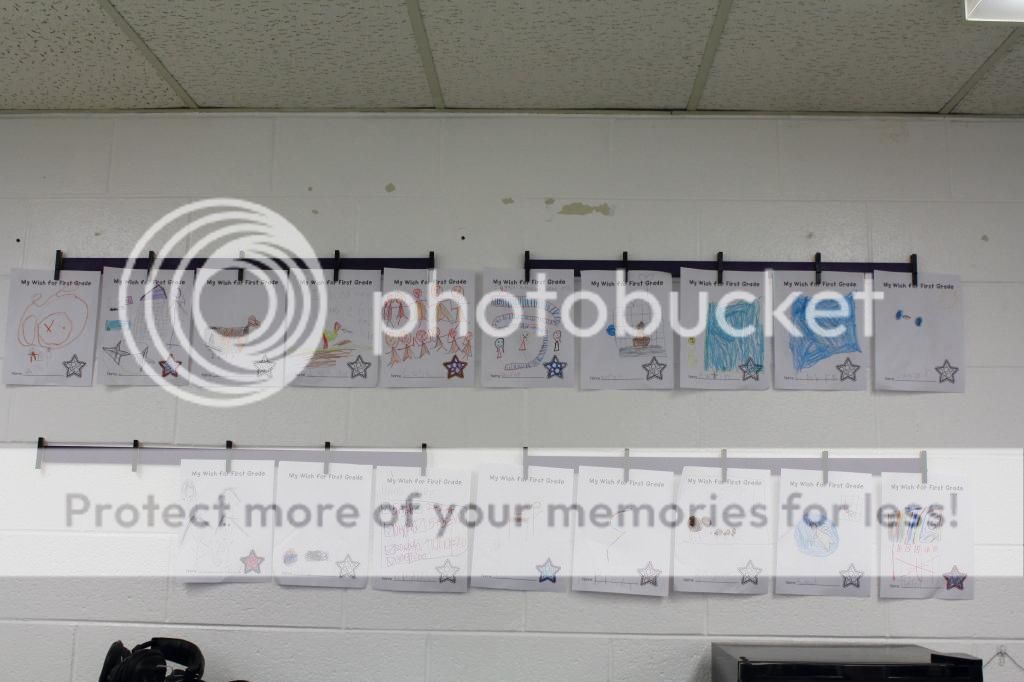
My next project was super easy and inspired by this pin


It's hard to see it in these pictures, but the yard sticks are spray painted purple to match my rock chair and the clothes pins are black. This is going to make displaying student work so easy! 

How do you display student work? 


Wednesday, August 13, 2014

Come On In and Visit My Classroom

I've officially made it through a week of First Grade! Last week before Open House I snapped a few pictures of my new classroom and I'm so excited to get to share them with you all!


The calendar has already changed, twice, but this is my favorite corner of the room because it is so colorful! 


My room isn't complete without my bouquet of freshly sharpened pencils from my sister! 


One of the windows and our brick wall view, but I am so thankful to have two windows..I'll take it! 


Keepin' it real here. These are all the trade books I have in my classroom! Remember I came from 4th grade and I had a nice size 4th grade library, but I had almost nothing for 1st grade! I'm already working on my first Scholastic order of the year. This area needs some work....labels on the book bins and a little more sorting will help things. 


The guided reading area and shared classroom supplies on the blue shelf. 


Brag Tag board! 


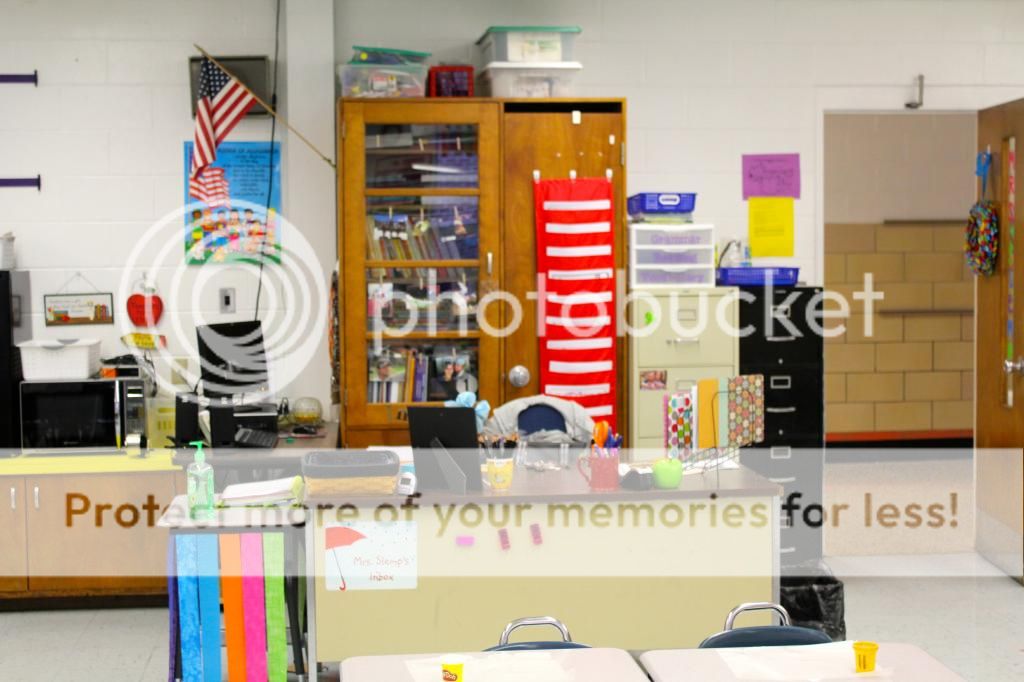
I promise you when I stand in my room and look at my desk it just doesn't hit me as being such a hot mess as it does in this picture. I don't know what's going on here...oh well! That huge cabinet can't be moved and it's the only place I hd to store my teacher materials so it was the logical choice for my desk. 


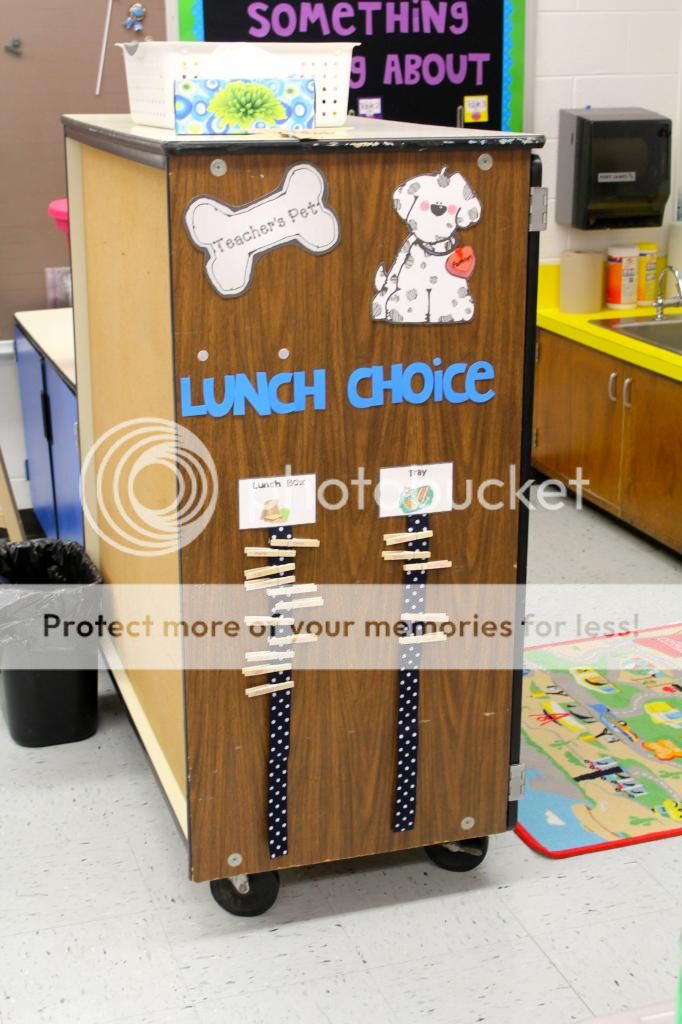
Our coat closet that opens up toward the car rug. The kiddos keep their lunch boxes on the blue cabinet on the other side and the mailboxes are on the yellow counter. 


Thursday, July 31, 2014

An App to Help Level Your Library

Hey, everyone! Today was our first official teacher workday, so the crazy back to school rush is in full swing around here.  I wanted to do a quick post to share about a new app I discovered to help level my classroom library. 


The app is called BookScanner and it's name says it all - it scans books! 

I downloaded it in a moment of desperation in my classroom last week when I had a huge pile of books to level and very little time. I was really pleased at how well it worked!


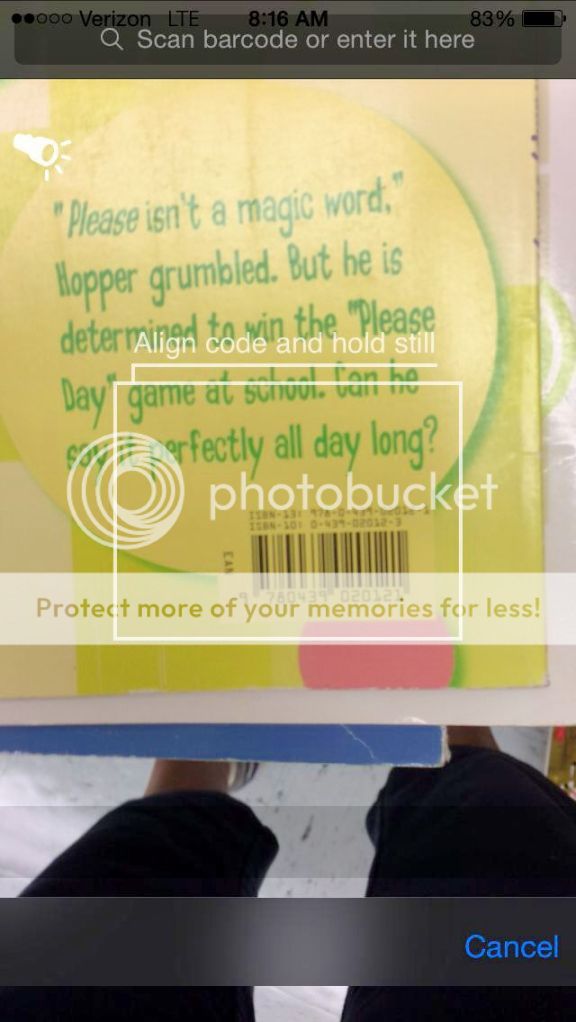
Just click the Scan Barcode at the bottom of the app, hold your phone's camera over the barcode and listen for the beep. I'm not gonna lie, I was channeling my inner librarian with all the scanning! 


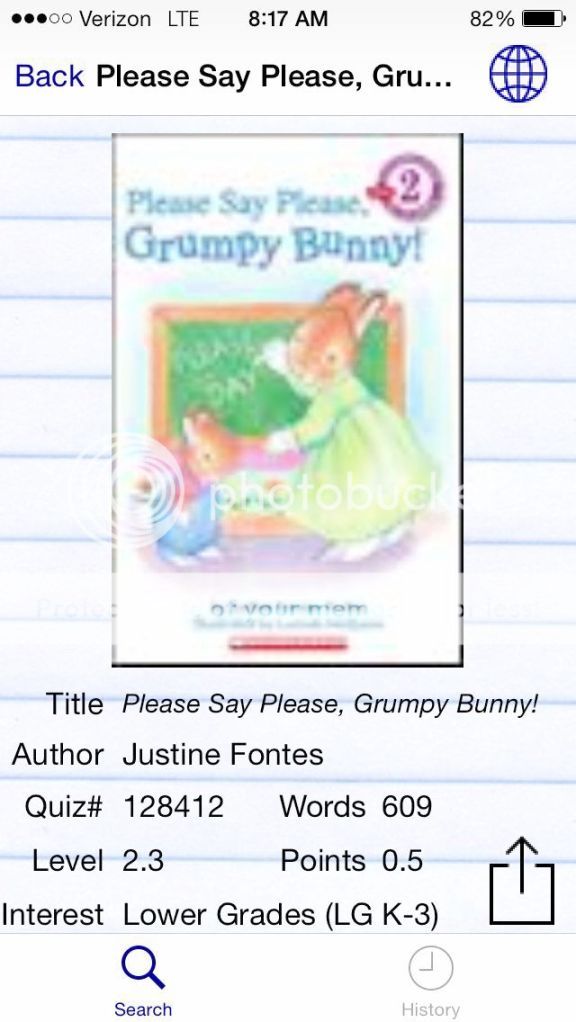
Here is a screen shot of the info you get when you scan a book. We use AR at my school, so I like to level my books by AR level and this was so much faster than typing them all in the AR site. 

I also like that I can scan books at the library or out at garage sales to get a detailed run down of the book's level. 

Have you tried this app? Do you have a book scanning app you like to use? 

Monday, July 7, 2014

Teacher Planner in a Discbound Notebook {Monday Made It}


It is a summer Monday for sure. I seem to be working in turtle speed, but at least I'm getting somewhere! I'm excited to link up with Tara from 4th Grade Frolics for Monday Made It. I've been a little slow with the making this summer, but I'm starting to catch up!

I finished my teacher binder/planner for the school year and I can't wait to show it to everyone! The calendar and other planning pages are from this Black and White Editable Teacher Binder set by Haley O'Connor. 


I've discovered discbound notebooks and they are this school supply lovers dream!! I have to stop myself from telling random, uninterested people about this notebook. I'm so glad I've got my teacher peeps here who like hearing about new notebooks as much as me! 


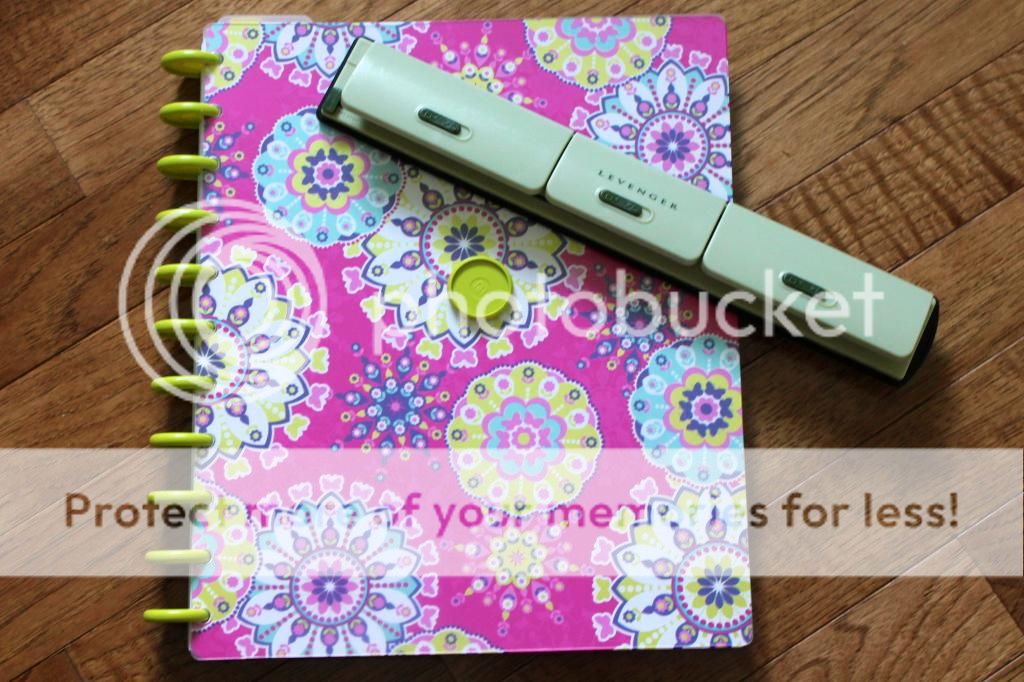
Just some random shots of the cover and some sections inside the notebook. The different sections are: 
Plans, Standards, Calendar, Student Info (parent contact info, contact log, student information sheets), My Info (logins and passwords, professional development log, etc.), Notes (from meetings, lined paper for lesson ideas) 


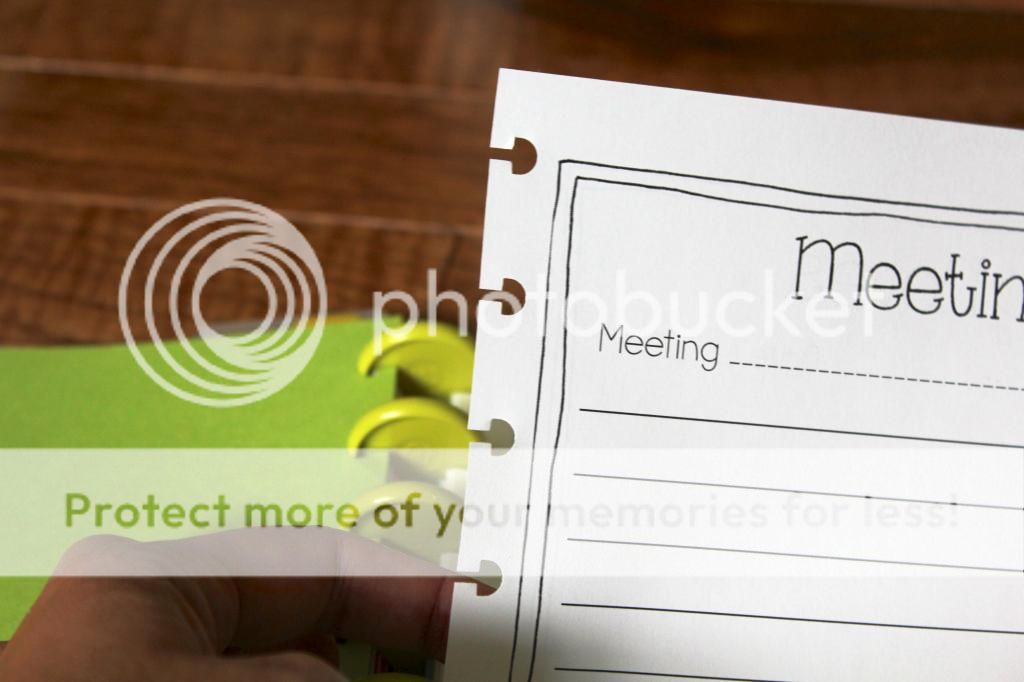
What is a Discbound notebook? The binding of the book is actually little discs. The pages are punched with a special hole punch and then they fit right over the grooves in those discs. You can add, remove, or rearrange the pages at any time - I love that!!  


The punches kinda look like little mushrooms and I may or may not have a lot of tiny mushrooms on the rug around my desk. The pages are surprisingly secure in the notebook. To get a page out of the book you start at the top and peel it down towards the bottom. I love that the pages can be moved around yet it is still more compact than a binder. 


Want to give discbound books a try? Here are three simple supplies you'll need to get started: 

Discs - the green discs on my notebook are 1" discs from Staples. Each letter sized notebook needs 11 discs.

Notebook shell or covers - my cover was customizable and came with 8 different inserts for the covers

Hole punch - I ordered a travel hole punch from Amazon. It only punches one sheet at a time, but it was much less expensive than the desk punches and I can carry it in my teacher bag. 


That's all you need to get started! The notebook shell I bought had 1/2" discs that I didn't use, so I already have enough materials to make another notebook if I want. I love all the options there are to customize these notebooks! The hole punch will punch card stock, so I see a lot of cover making projects in my future! 

Supplies can be purchased at Staples, Levenger, Amazon, Rollabind, and Etsy! 


Tuesday, June 17, 2014

Need Address Labels for Projects and Back to School? I Found a Deal!


Address labels are always on my back to school shopping list. It seems like every time I go to Wal Mart in August I pick up a pack of labels and those things aren't cheap.  
I print out sheets of them with my kiddos names already typed up. It is a super easy way to label supplies at the beginning of the year. 
I recently discovered a website that has an amazing deal on labels! It's kinda sad that I'm so excited about this deal, but I knew I could share my excitement with my teacher friends and you'd all be just as happy as I am! 
This company does not know I exist. I just wanted to pass long a good deal! 

I usually use Avery labels from Wal Mart.  I just went online and checked the price of the labels I usually buy - 750 Avery 1"x 2 5/8" for $14.27. 

At Online Labels you can get a pack of 3,000 labels of the same size for $10.45 and $4.95 shipping. That is a CRAZY good deal. 

Of course these aren't Avery brand, but I did have a chance to test them out when I did some printing for my mother-in-law.  I printed on these labels using a document I'd created with the Avery templates and they looked great!  I couldn't show you a picture because I was actually using them for addresses - gasp


This is the pack of 7,500. I like the little plastic box they are in. The lid closes easily and it is easier to get to the labels than the cardboard Avery sleeves. 

The site also has templates you can download and use to create labels.

What do you use labels for in your classroom? 

Monday, May 5, 2014

May Monday Made It

First off, let me just say that I made it a whole week without a computer!! That was an accomplishment and turned out to be a nice break. Break time is over, the computer is fixed, and I'm back in the blogging world to link up with 4th Grade Frolics!!


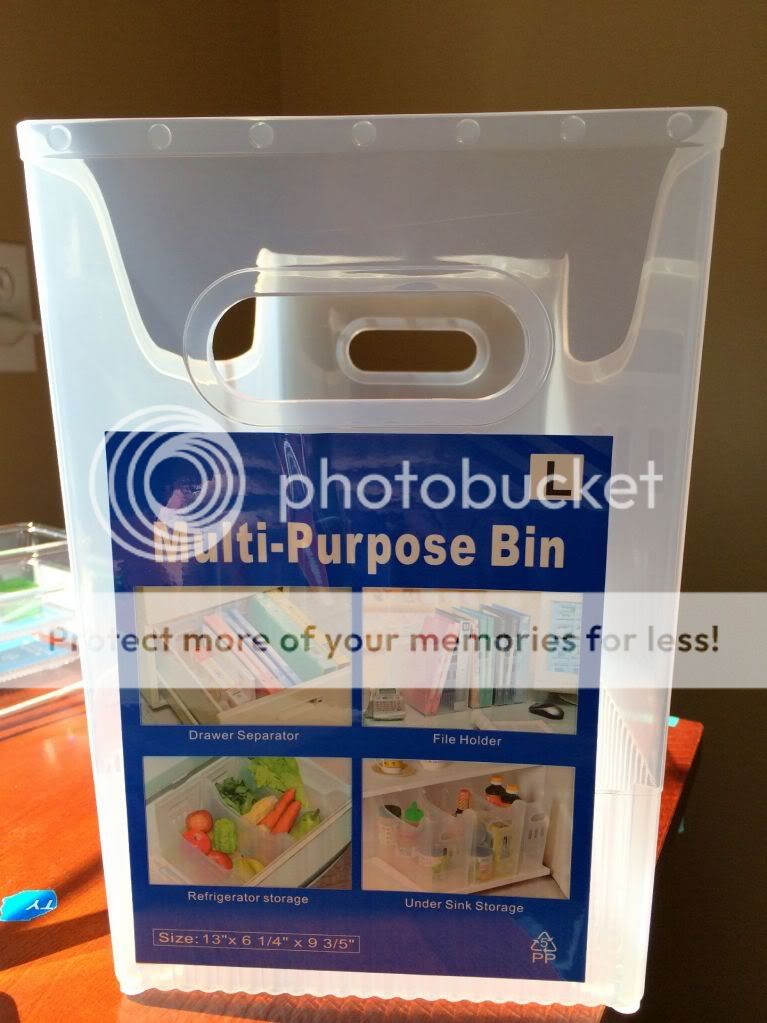
Remember that fabulous trip to DC I took a few weeks ago? And I took a trip to the Container Store *angels sing* well I found this little tote/box thingy and it was just what I'd been looking for!!


If my kiddos don't do their homework they take it outside on a clipboard and finish it during recess. I needed a way to keep all those papers, pencils, and clipboards together and this fit the bill. I also use it for library books on Fridays! 


Gotta love a little vinyl from the Silhouette!! 

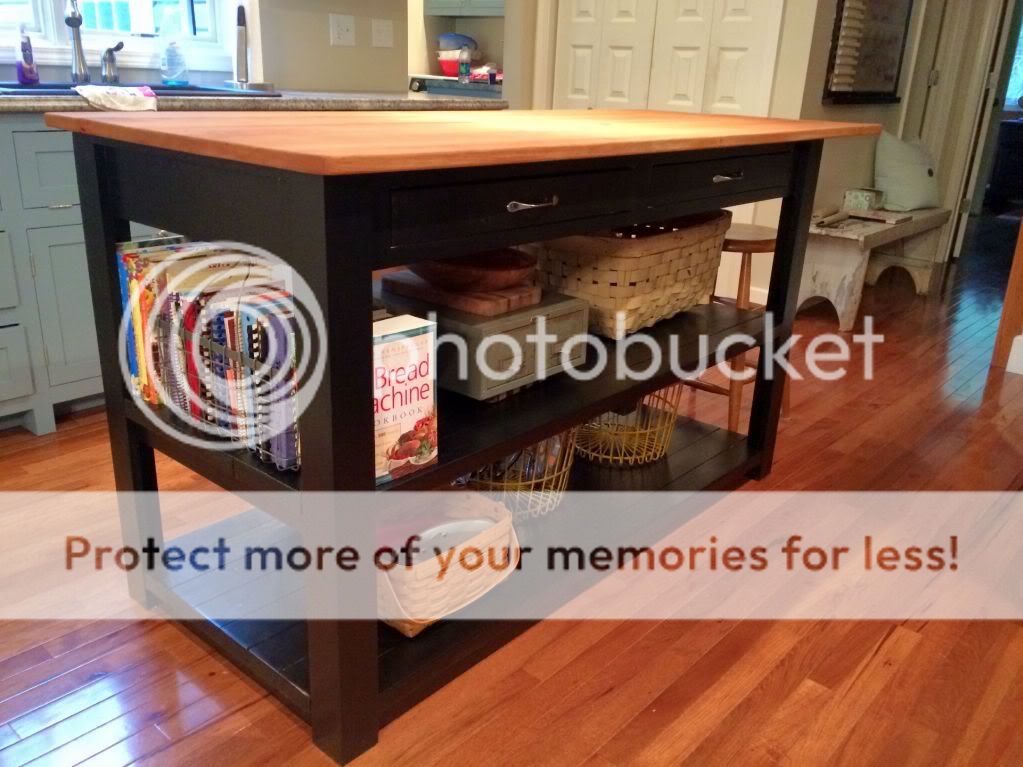
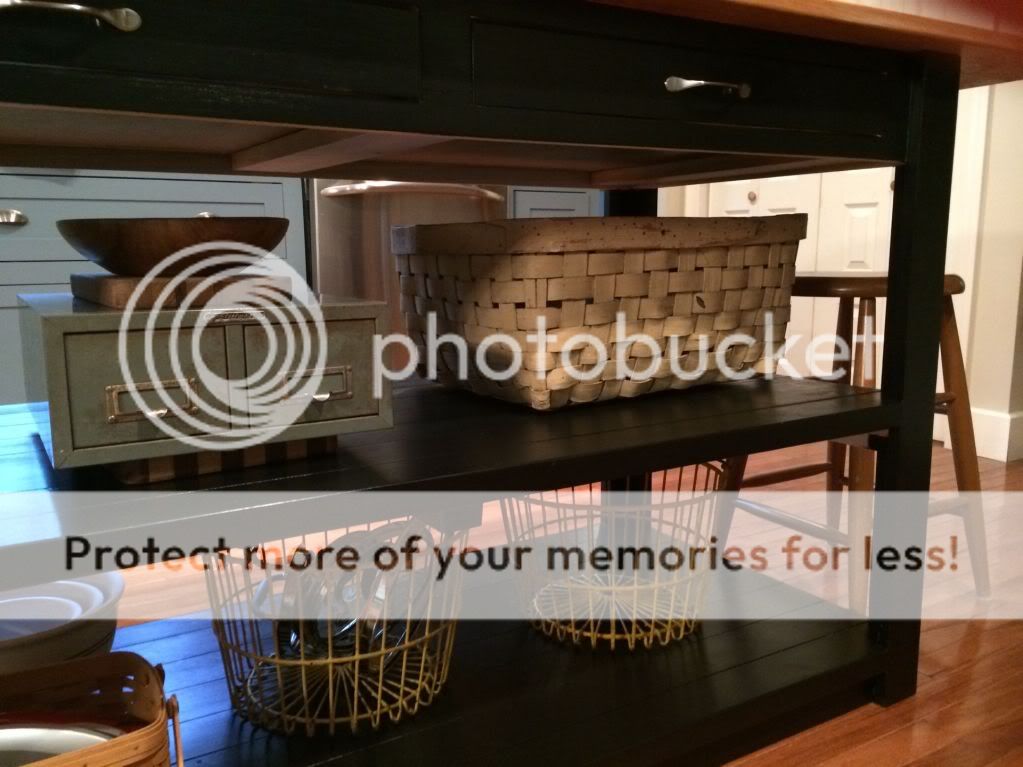
At home I've been working on painting and decorating the island from last month's MMI


I've been hoarding some of these treasure for years just waiting for the right place and I've finally found it!! Yay!! 


Thanks, Dad!! 

What have you been making this month? 

Don't forget about the big TPT sale happening May 6 & 7. Click the button below to shop my store!!

Thanks to Jen Jones for the adorable graphic! 

Related Posts Plugin for WordPress, Blogger...