Thursday, July 3, 2014

Teacher Planner {Throwback Thursday}

Teacher Planners and Binders seem to be a hot topic right now! I just finished making my teacher planner/binder for this year, so before I share that on Monday I thought I'd show you the planner I made last year. 


Here is my post from last July: 

Since posting the Teacher Planner I created for my Monday Made It post I've had a few people ask if I'd be willing to share the templates I used. 

Before I go further with the post it would be helpful for you to know that I keep my lesson plans online, so my templates do not include lesson planning pages. I needed to create a planner that would be small enough for me to carry home, to meetings, and have handy in the classroom. The planner will be used for long-term planning, keeping up with important events, meeting notes, and parent communication. 

You can click on any of the images in this post to download ALL the templates I used in creating my planner. 

Here is a picture of the front of my planner.
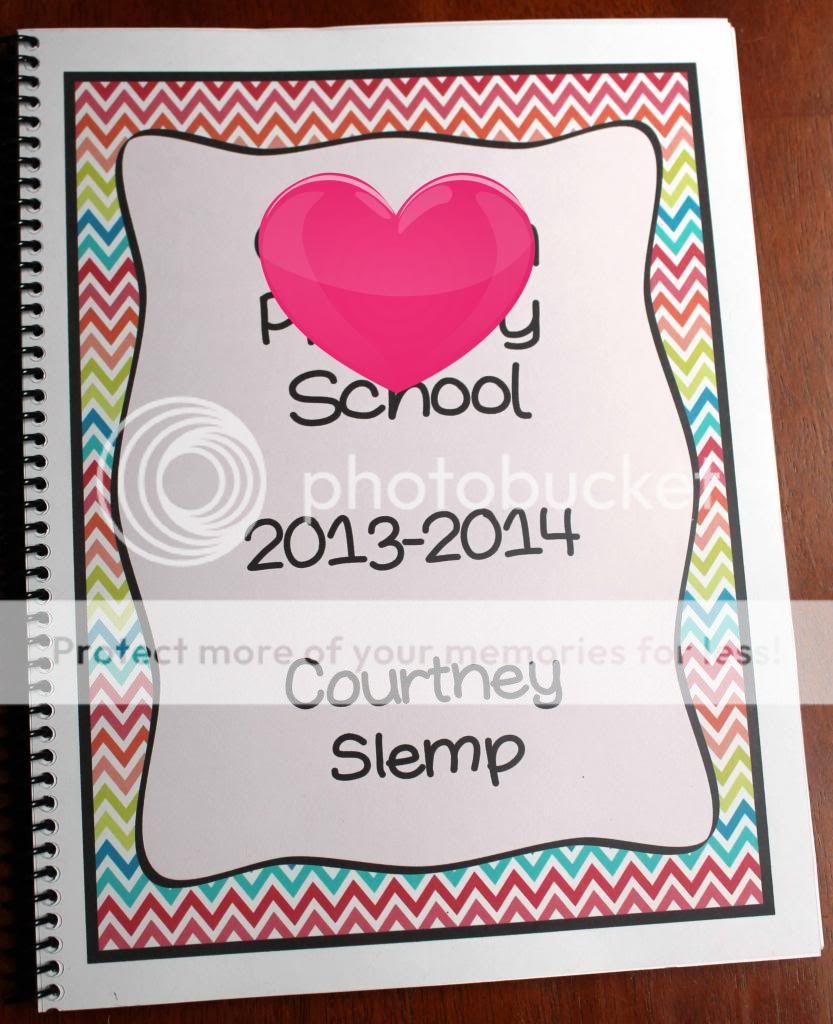
In the front of the book I added a page for all those logins and passwords I can never remember! 


Here is a look at the inside calendar pages. 


In between each calendar page I added a notes page on the left and then a page with spaces for making notes for each of the 3 classes I teach. 

After the calendar and notes pages I added in a section with my pacing guide and standards. 


Next came the Parent Contact Log. I like to keep a list of all my parent contact information in a notebook with some space to document when I talk to a parent and what we discussed. This planner was the perfect place to add that in. 


I threw in some of the note pages from earlier to record my calls and conferences with parents.

The last page was the beautiful verse. 

You can click on any of the images in this post to download all the templates I used for creating my teacher planner. I even threw in a Birthday organizer, but ended up decide not to put that in my planner! 

Tips: 

I printed the pages front to back on my color printer. The process actually didn't take nearly as long as I thought it would have. I would recommend using a heavier weight paper than 20#. The lines show through to the other side of some of the pages, so I think a heavier weight paper would make it look a little more professional looking. 

I had mine bound at Office Depot. It was $5 for the plastic binding, a clear plastic cover, and a black plastic back. I think that is a great deal for a customized planner! 

Have you ever made your own teacher planner? Have any tips to add?! 


Monday, June 30, 2014

Amazing Bread and Peach Slush {Eating, Drinking, and Linking}

Anybody else planning on doing some celebrating later this week for the 4th?! We are gearing up for a big get together with family and friends and you know what that means - food!! Eating and cooking really seem to be the only two things I'm getting done this summer...at least it's enjoyable!


I'm linking up with Christy from Teaching Tales Along the Yellow Brick Road to share a couple recipes I'll be making this week for the celebration. 

Drop everything and make this Cheddard Tailgaiting Bread!! The recipe has been floating around Pinterest for a long time, but I just now got around to trying it and it is fantastic! 

I didn't take any pictures of the bread because I was too busy eating it, but you can click the link above or check it out on this Pinterest board - it's the first pin!


The other recipe doesn't have a picture either - just more proof that it was too good to stop eating long enough to take a picture! 


2 cups sugar
4 oz. lemon juice
2 packs peach jello
1 - 46oz pineapple juice
6 1/2 cups water
ginger ale

 In a large bowl mix together the sugar and jello. Boil 3 cups of water, add to jello and sugar to dissolve. Add remaining 3 1/2 cups of cold water, lemon juice, and pineapple juice. Divide the mixture into 2 gallon-size ziploc freezer bags. Lay flat to freeze. Thaw 2-3 hours before serving. Mash up in the bag and mix the slush with ginger ale - 2 bags of punch to 1 liter of ginger ale. 

What yummy recipes have you tried lately? 


Saturday, June 28, 2014

Summertime Saturday Snapshots


One of my favorite hobbies is photography, I just don't have a chance to practice play during the school year like I'd like to. I've taken some time this week to break out the big camera and take some snapshots of our summertime farm life. Warning: There is nothing educational in this post, but if you love animals keep scrolling!


I'm linking up with Miss Nelson for  Saturday Snapshots. 


Charlie is also my photography guinea pig. He's so hard to take a picture of because he's black so he just shows up as a little blob in most pictures! 


Pretty sure Gunner is the most photogenic dog in the whole world. He also poses and he's pretty good at that too. 


This is Sport's I didn't do a thing look. He has to use this one often because he's always doing something! 


The ultimate love-hate relationship. Sport loves the cat and she always tries to get away from him..hrmm...wonder why? 


This happens every evening in our front yard.


Sweat that the horses then try to rub off on us! They're just really big pets. 


My beautiful Nellie. She mostly just gets to hang out and eat...my kinda life. 


This happened last night and they were fantastic. It was hard not to just eat them all! 


The lambs are about 3 weeks old now and they are so much fun to watch. They are super quick and love to run all over the field playing with each other. 


My favorite view in the world! 


Thanks for indulging me and looking at all my little (and big) kiddos. This was fun. Maybe I'll do it again next week. 

Monday, June 23, 2014

Blast Off VBS Decorations {Monday Made It}

This is the 200th post on my little blog and I'm so excited that it happened on Monday Made It day because it is my all time favorite linky party!! 

Enough celebrating, time to get down to business with Miss Tara over at 4th Grade Frolics. 


This is my first time getting to link up for MMI this summer and I'm so excited because I get to share some snapshots from our VBS decorating. You'll have to forgive me for the poor picture quality. I was in such a rush trying to make sure I had all the supplies I needed yesterday and I forgot my camera. 

We always choose to make one big, focal piece for our decorations and this year we just knew it had to be a rocket. 

So how'd we do it? 


Tum-E Yummies, anyone? We were GIFTED these three drink displays and they made the perfect base for our rocket. We just assembled the displays, stacked them on top of each other, and used some duct tape to hold them in place. 

We added some silver wrapping paper to the front and red and yellow tissue paper around the bottom for the flames. For the top we used two pieces of red poster board taped together and cut out a cone. 

This was one of the easiest and least expensive decorating projects we've ever done. I love the way it turned out! 


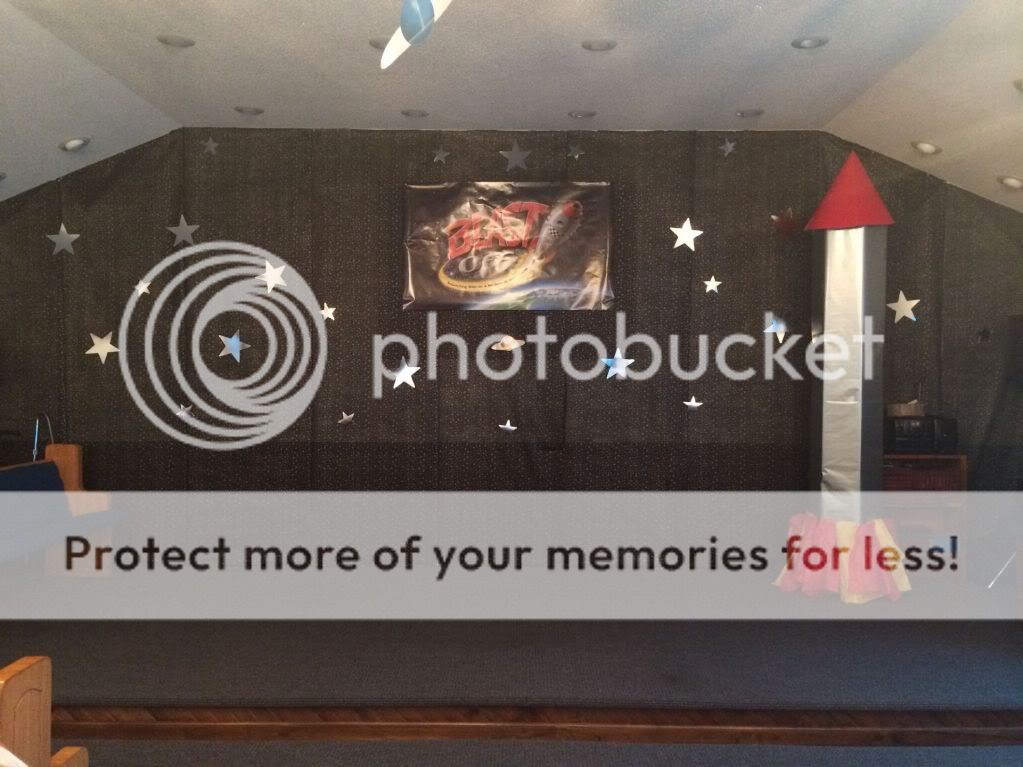
Here is a shot of the stage area. We used gossamer from Oriental Trading to drape the back wall and then added some more stars from OT to finish it all off. 


Here is the view as soon as you come into the church. I just love all the twirly star and planet decorations we added.  


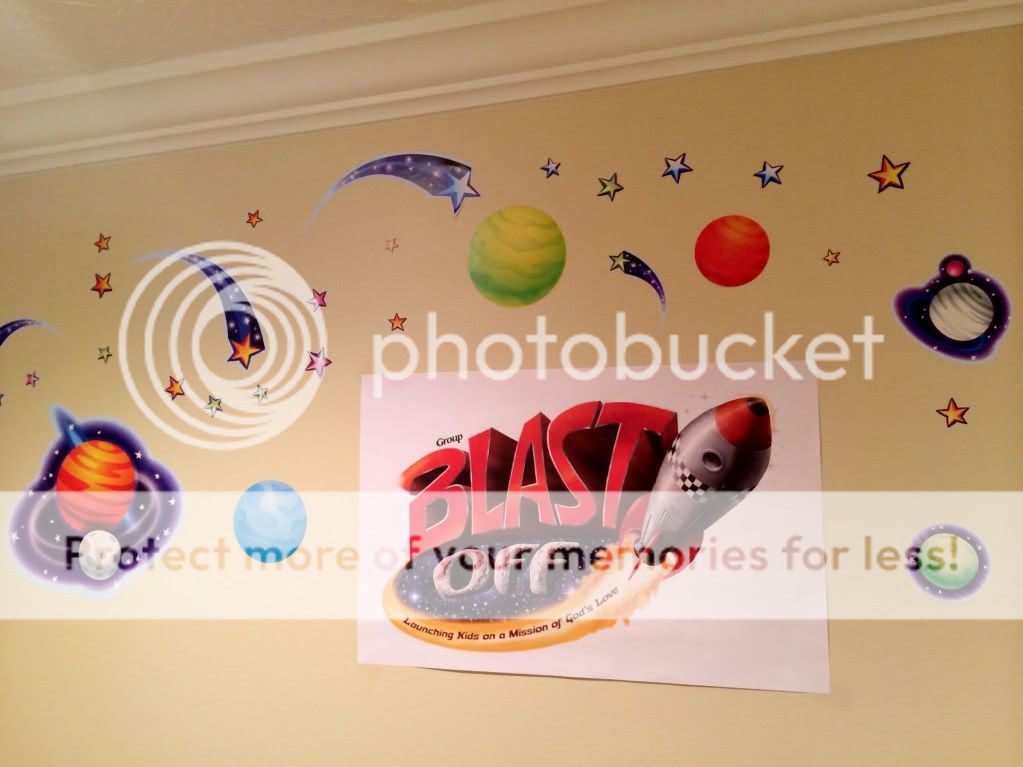
Remember those posters I had printed at Office Max? We used them downstairs to add a little color to the walls. We also used these really neat wall decals in the hallway and dining room downstairs. 


I thought someone might be interested in seeing what the packaging looked like. These came from Wal Mart and I think they'd be fantastic in a classroom!  I'm always getting classroom ideas when we decorate for VBS. 

What have you been creating? Link up with Tara so we can all hear about it! 


Friday, June 20, 2014

Week 2 of Summer Break {Five for Friday}

Happy Day! It's Friday and my sister is here!! 
Time to link up with with Doodle Bugs Teaching to share some randomness from my week. 


Vacation Bible School starts on Sunday!! I'm so excited!! VBS is one of my all time favorite church activities and I'm directing again this year. We're gonna call this the before picture. It really reminds me of my classroom in the summer before I start putting it all together. Stay tuned for more pictures! 


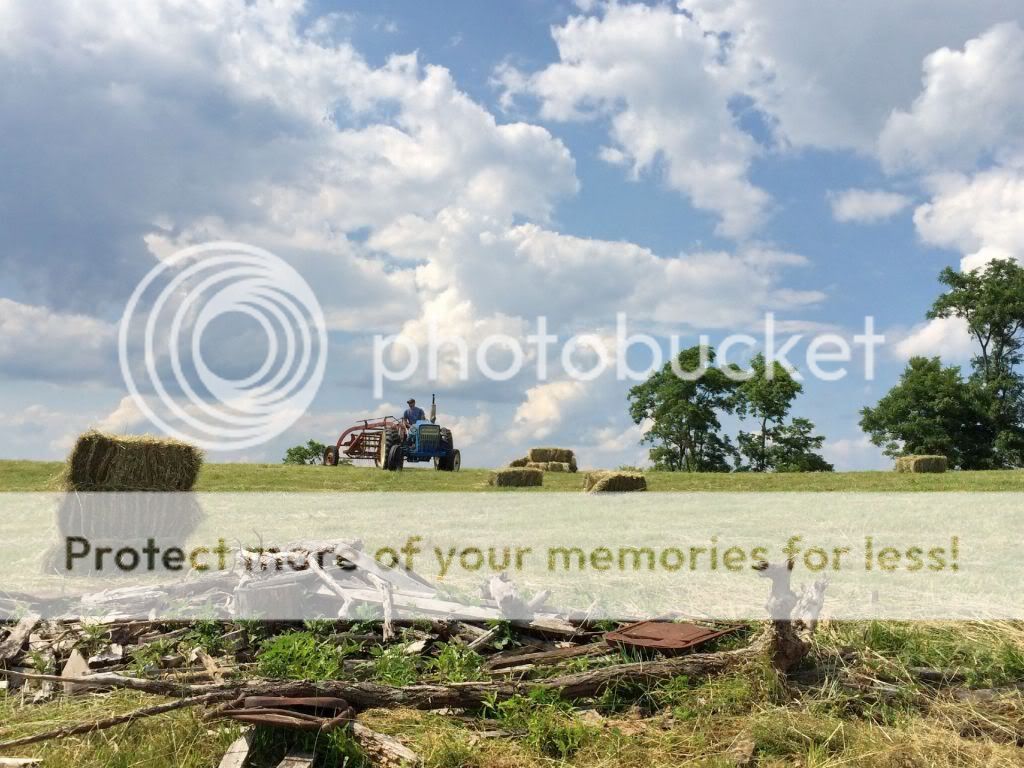
We cut hay this week! If you have the need to cut hay then you know what a relief it is to finally get weather nice enough to cut it and get that stuff put up. We still aren't completely done with the first cutting, but at least we got some of it taken care of. 


It's been a relatively quiet week around here, so I've had some time to relax and enjoy being on break. I've been hanging out near the creek behind our house some. 


Ladybug has been hanging out with me. 


And these guys. I guess you can tell by looking at them that they don't hang out in one spot too long, but I'm enjoying getting to spend some extra time with them! 


I went to a little Mary Kay get together this morning with some teaching friends. It's so nice to get to spend some time with them outside of school! Lots of fun. 


My sister is here!! She just got in this afternoon and I'm so excited to get to spend some time with her this weekend!! Yay for sister time. 


Tuesday, June 17, 2014

Need Address Labels for Projects and Back to School? I Found a Deal!


Address labels are always on my back to school shopping list. It seems like every time I go to Wal Mart in August I pick up a pack of labels and those things aren't cheap.  
I print out sheets of them with my kiddos names already typed up. It is a super easy way to label supplies at the beginning of the year. 
I recently discovered a website that has an amazing deal on labels! It's kinda sad that I'm so excited about this deal, but I knew I could share my excitement with my teacher friends and you'd all be just as happy as I am! 
This company does not know I exist. I just wanted to pass long a good deal! 

I usually use Avery labels from Wal Mart.  I just went online and checked the price of the labels I usually buy - 750 Avery 1"x 2 5/8" for $14.27. 

At Online Labels you can get a pack of 3,000 labels of the same size for $10.45 and $4.95 shipping. That is a CRAZY good deal. 

Of course these aren't Avery brand, but I did have a chance to test them out when I did some printing for my mother-in-law.  I printed on these labels using a document I'd created with the Avery templates and they looked great!  I couldn't show you a picture because I was actually using them for addresses - gasp! 


This is the pack of 7,500. I like the little plastic box they are in. The lid closes easily and it is easier to get to the labels than the cardboard Avery sleeves. 

The site also has templates you can download and use to create labels.

What do you use labels for in your classroom? 

Related Posts Plugin for WordPress, Blogger...